Friday 23 May 2014

Fun with simple scoring

Recently I decided to try using some of my tools that I don't use to their full potential, or in fact at all in some cases. This card was inspired by the desire to use my Hougie Board.

I simply created some rosettes and then built up the card.


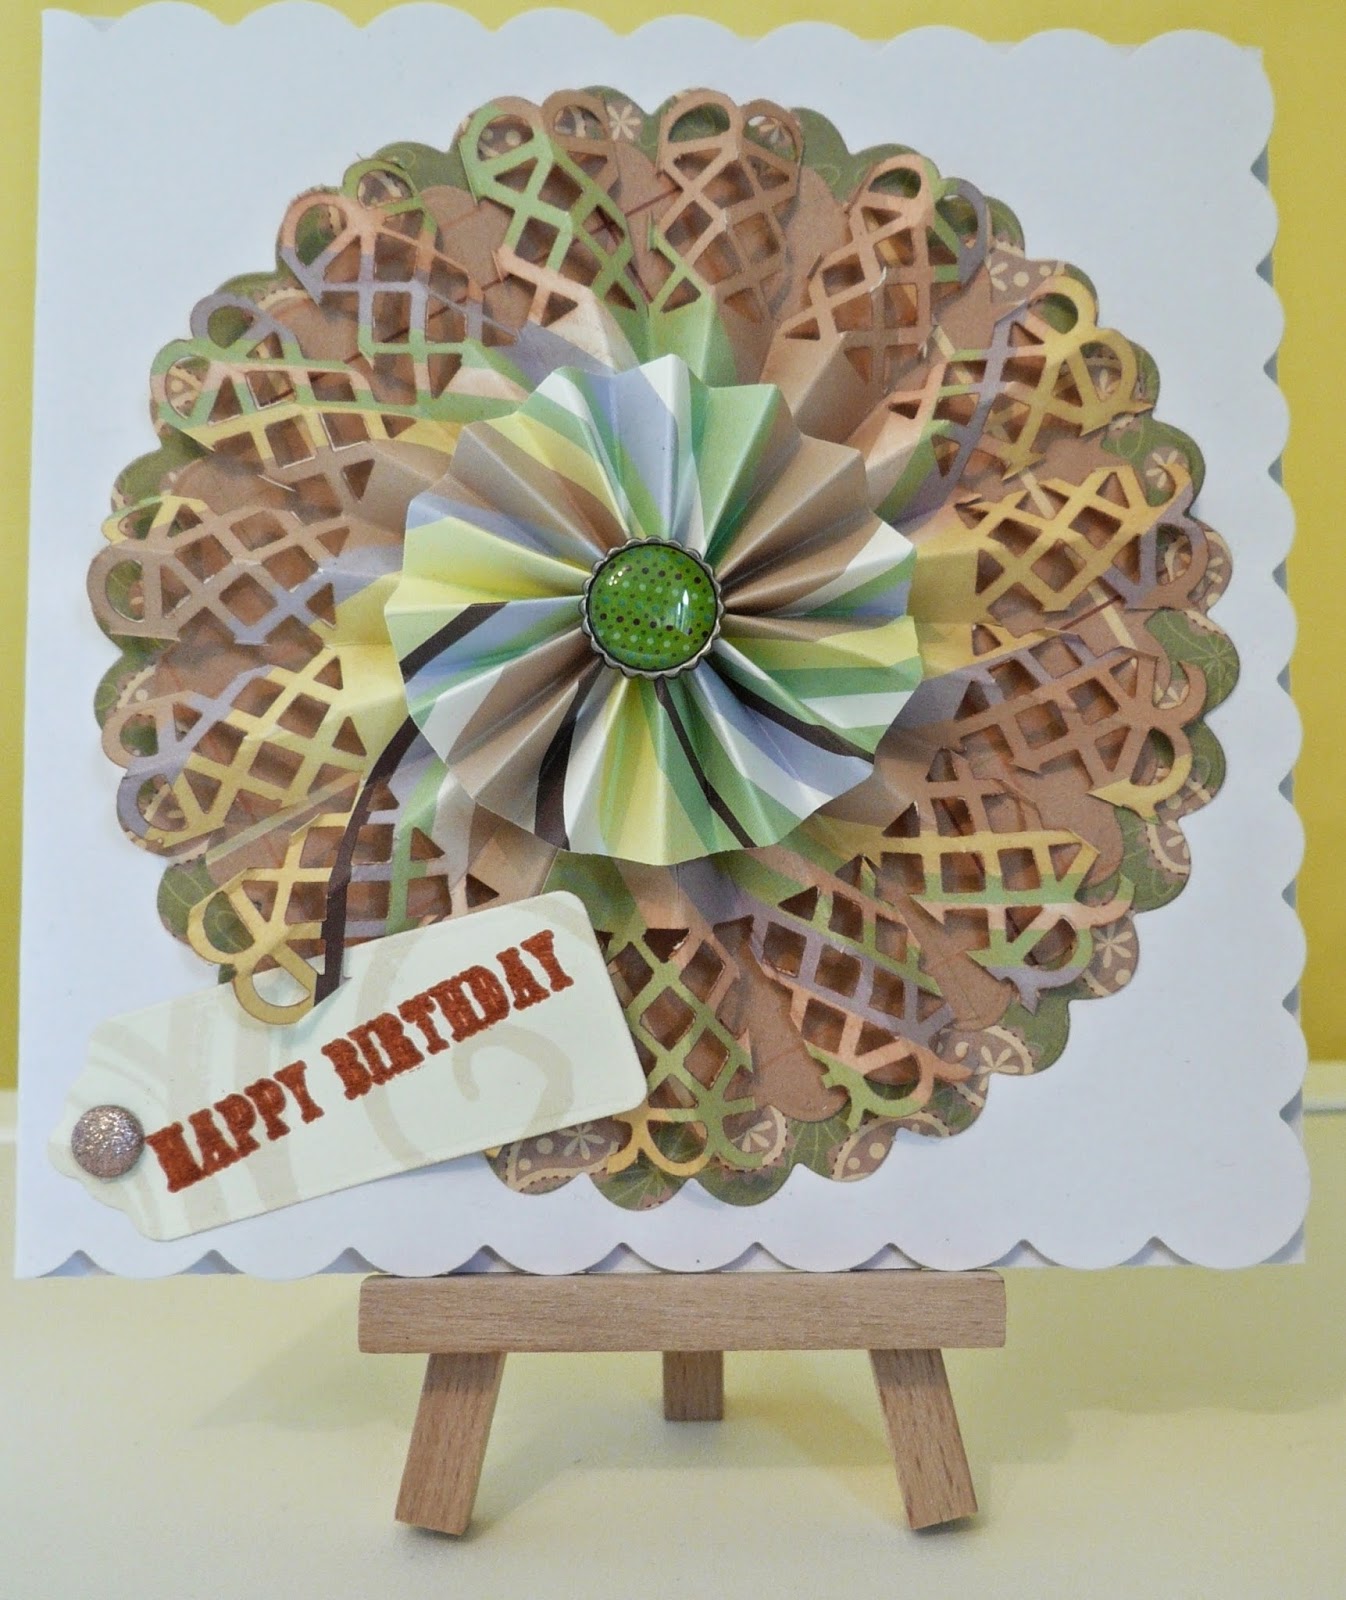
The base card is a 6x6 scalloped edge card. The backing paper is a circle cut with a Sizzix circle die. I then took and overly wide strip of 12" paper from Crafty Bitz. I don't think they are around any more! I used a Martha Stewart edge punch along the full 12" length on one side. 

The Hougie Board allowed me to score the length of the paper at 1cm intervals. Then I completed hill and valley folds. The two ends were then glued together so I had a circle banjo. I then hit a problem!  The width of the paper was too wide to allow the banjo to be "flattened" and "popped" to form the rosette. How can I get over this? Snipping! I cut each valley from the outside edge to the non-punched area. This allowed the rosette to pop and it then gets glued to a small disc of card to maintain the shape. 

The same process was used to make the second rosette. 

I then layered the rosettes and placed a Create and Craft brad on top, having removed the legs. 

Thes tag is a basic die cut in a complimentary paper, with the sentiment stamped with Momento ink. It is glued on and the brad is legless and glued in place.

I think this is a really effective yet simple card that can be whatever you want it to be and the colour options are obviously endless.

Thanks for taking a look. I have a few other cards lined up now, as well as a couple of other projects that I have been working on. I hope you will take the time to look at them too.

Cheers

Angela


Monday 21 April 2014


Hi All

I hope you have had a lovely Easter and enjoyed the glorious weather. Here is a card I completed as a commission for a 75th birthday for a man who loves to travel.

All I can say is Tim Holtz is a genius. The paper is one of his, which I have distressed with, you guessed it, Tim Holtz Distress Inks. I then took a tag and distressed it, again with distress ink. The combination of Tea dye, Walnut Stain and Vintage Photo. These are three of my favourite colours.  The stamp is a Tim Holtz I believe, although I am not great at remembering whose are whose!

The75 is stamped onto two balsa wood tags which have been distressed as the paper tag was. I have then heat embossed the 75 in gold embossing powder and used brads to attach them to the card.

The postal mark is from an embossing folder from Papermania which has had the Tim Holtz treatment.

I was really happy with this card and so was the client.

Thursday 10 April 2014

Welcome to AAA Cards and Crafts


Hi all. This is my first venture into the world of blogging and I thought this card was appropriate. Here's hoping that you all like what I put on here and share it with your friends.

This card is made using the concept of hybrid crafting. That is a mixture of CD crafting and messy crafting to give a very special look. The backing paper is from a Papermania CD and tinted with Tim Holtz Distress Inks. The sentiment is a Hunky Dory die cut and is again tinted with distress inks, as is the ribbon.A very simple yet effective look.

This style, although not steampunk, is the aged and distressed look that I love to work with.

When I get going I will start to join some of the comps out there and see if you guys really do like what I do!

Thanks for looking.

Ange x